Home Product Informations Process of Production
PROCESS OF PRODUCTION
Step 1: Preparing divider moulds and colours
First of all, we prepare divider moulds based on the pattern chosen by our customers.
(*) At this step, if our customers want to have a new pattern that is not available in our existing range, we will be able to create new divider mould for new design. This should be done at an additional cost.
Colours will be mixed according to our customers’ colour choice. We have a standard range of 75 colours for our customers to choose from. Our customers only need to specify the codes of colours to be used for the chosen patterns.
(*) At this step, if our customers want to have a new colour that is not available in our existing range, we will be able to test new colour. This should be done at an additional cost.

Step 2: Placing divider mould into steel mould
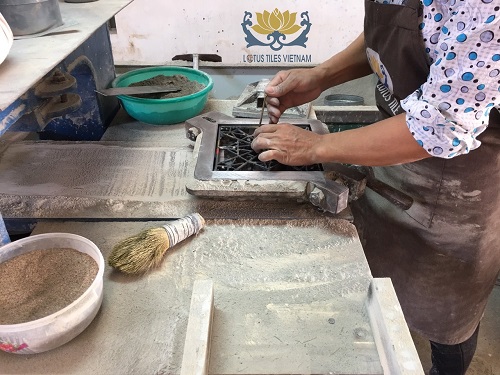
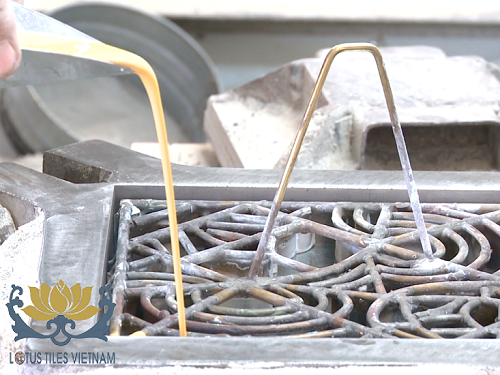
Step 3: Pouring colours into the mould as the first layer
A liquid mixture consisting of white cement, natural marble powder, colour pigment, and additives (to be mixed to the right colour) is poured by hand into the divider frame. Different liquid mixtures will be needed to create different colours in one tile.
Here is an illustration of pouring 3 different colors for a tile. The first color is white, then blue and lastly black.
Pouring liquid colour into mould and divider mould is a very important task which requires the worker to have the right skill and experience.
In our factories, we make a lot of tiles with very sophisticated patterns and many colours. Some patterns have up to 10 colours!
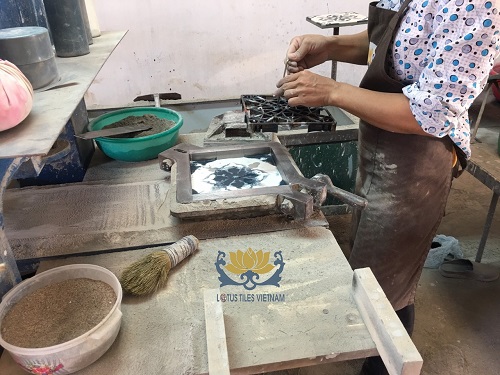
Step 4: Taking out divider mould from steel mould
Divider mould is taken out from steel mould, leaving a layer with design on the surface of mould.
Step 5: Making next layers
The second layer is a very fine and dry mixture consisting of grey cement and fine sand is put on top of the first layer. The second layer is very thin and has the function of absorbing water from the first layer.
Applying a mixture of sand and cement as the third layer (back layer) till the required thickness of tile is achieved.
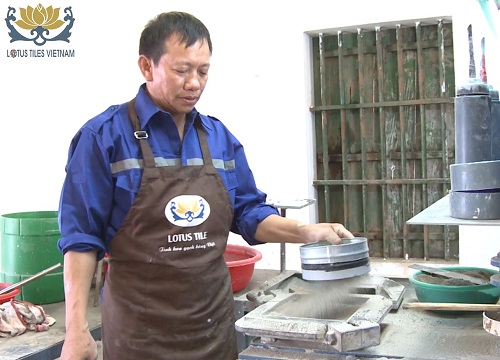
Step 6: Pressing by hydraulic pressing machine
All the materials will be pressed by hydraulic pressing machine. Moisture from the liquid colored layer will be absorbed through the dry back layers. Tiles will be pressed twice to have a good strength.
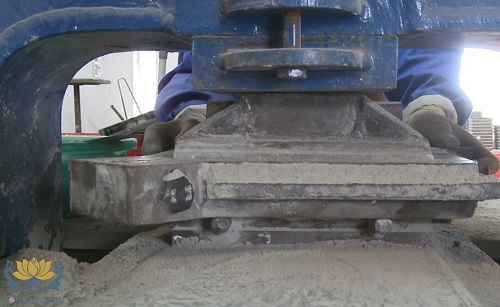
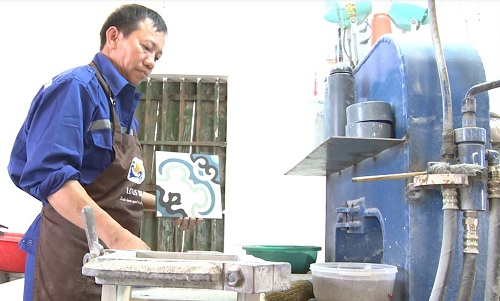
Step 7: Forming tile and taking out tile from the mould
Tile has been formed and taken out of the mould. Now, we can see a beautiful tile with pattern and colors.
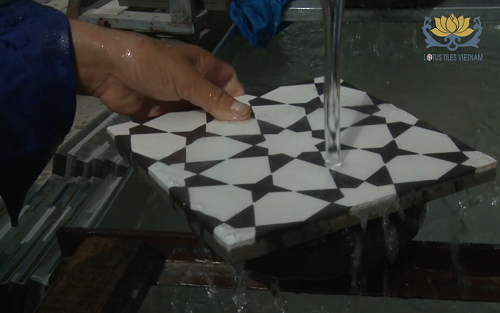
Step 8: Curing tile
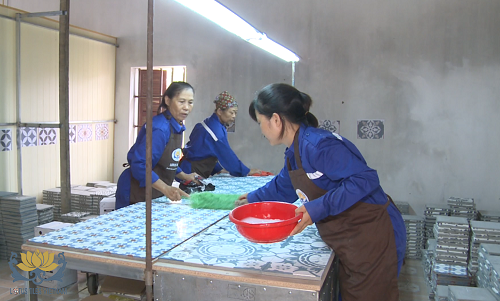
After the forming stage comes the curing stage. Tiles will be cured under water and then placed on racks for curing at room temperature.
Step 9: Coating with sealer and checking quality
After tiles are dried completely, they will be treated with sealer to perfect surface of tiles and go through serious quality control by checking piece by piece to carefully select really good tiles before packaging and palletizing.
